Undertale Battlez Boss Learning & Threat Tier List
Community S–D rankings for practice order — opinionated, BETA-sensitive, and built for cleaner clears.
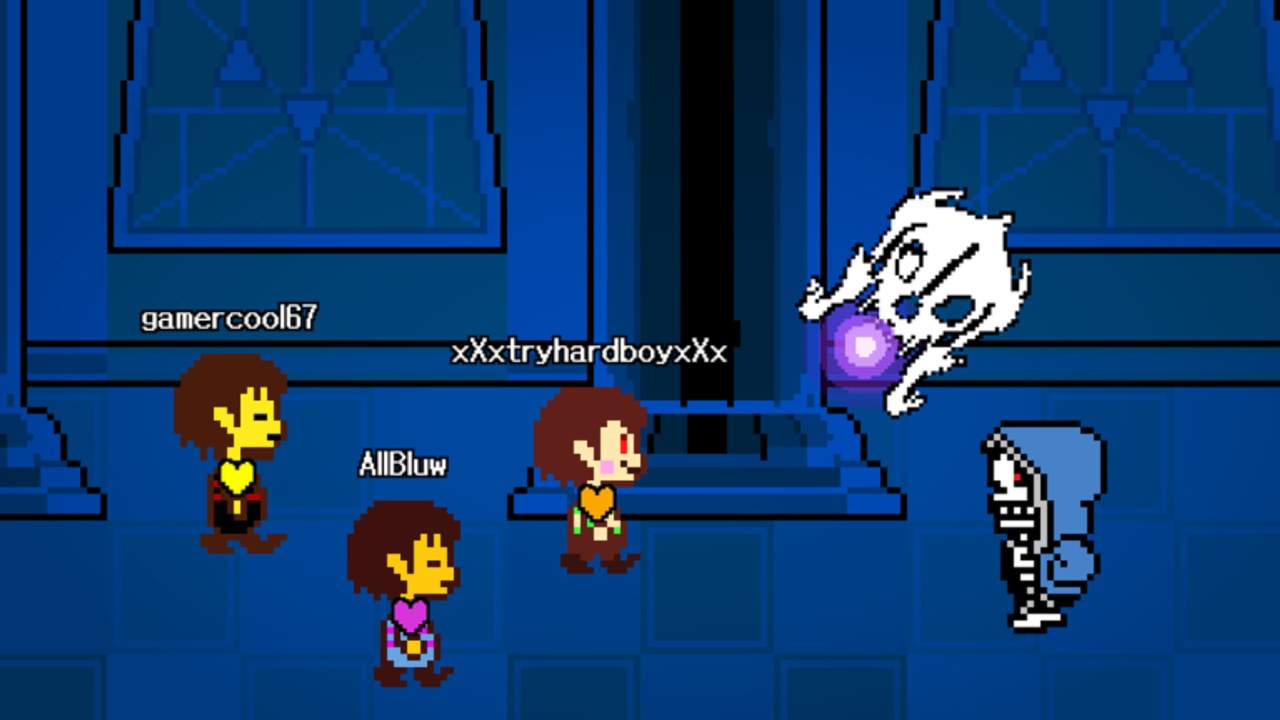
This Boss Tier List ranks Undertale Battlez encounters by learning difficulty and practical threat, not by lore importance or meme popularity. Use it as a practice ladder while the Roblox BETA from Bluw’s Studio keeps shifting. Placements are community opinion for November 2026 play on place 79493991899413. When a Massive Update lands, re-test one fight from your current band before you rewrite your entire grind plan.
Undertale Battlez is unofficial and not affiliated with Toby Fox. Boss names below use familiar Undertale-inspired and AU-style labels the community already searches for; exact in-game titles, phases, and rewards can differ after patches. Pair this page with the Tier List Hub, the execution notes in Boss Fights, and custom-creation tips in Custom Bosses.
How to read the tiers
- S — High threat or steep learning curve. Expect dense patterns, tight windows, or multi-phase pressure. Great once you have fundamentals; poor as a first boss of the night.
- A — Serious practice targets. Clearable with focus, but mistakes snowball. Excellent mid-game teachers for PvP spacing.
- B — Core ladder fights. Ideal when you can move and attack confidently and want reliable Gold plus pattern reps.
- C — Onboarding and warm-up. Use these to rebuild timing after a patch or after a long break.
- D — Soft training / tutorial-adjacent threat. Perfect for menu practice, camera comfort, and redeeming codes without tilt.
If two players disagree, ask whether they ranked first-clear difficulty, consistent clear rate, or PvP transfer value. Those three scores diverge often.
S tier — peak pressure & showcase walls
Limbo Sans and similar AU showcase bosses sit here for most community sessions. Public unlock and showcase coverage (including Limbo Sans videos) frames these fights as identity goals: denser bone or blaster-style pressure, stricter dodge discipline, and a higher chance that BETA tweaks change the feel between recordings. Treat S-tier as a destination after mid-ladder consistency, not as a day-one ego check. Walkthrough context lives on the Limbo Sans guide; come back here only to place the fight on the ladder.
Heavy multi-phase finale style encounters (Asriel-like or Omega Flowey-like community labels) also trend S when the build includes phase transitions that reset your rhythm. The threat is less “one fatal bullet” and more “fatigue errors across long patterns.” Schedule shorter attempts with breaks instead of marathon tilt queues.
A tier — serious teachers
Sans-style precision fights usually land in A for learning difficulty: sparse HP fantasy, brutal punish windows, and reads that transfer into PvP baiting. Winning once does not mean you have mastered the matchup; track how often you clear without panic mashing.
Undyne / Undying-style spear storms sit nearby. They teach directional awareness and commitment discipline. Players who skip straight from soft C-tier warm-ups into these often blame “broken hitboxes” when the real issue is camera and movement hygiene — fix that in Boss Fights before raging at the tier placement.
High-readability custom bosses with unfair density can rank A even if they are player-made. Custom content is part of the Undertale Battlez loop; a community arena that spams overlapping patterns can be more threatening than a classic named fight. Rank the encounter you actually queue, not the franchise nostalgia around its sprite.
B tier — the real progression spine
Papyrus-, Mettaton-, and Asgore-inspired mid bosses commonly form the B band: readable telegraphs, meaningful punishment, and steady Gold. This is where most players should live for farming and skill growth. If you can clear two different B-tier patterns in a row without burning all your heals or panic tools, you are ready to sample an A-tier teacher.
Well-designed custom bosses also belong here when creators respect telegraph clarity. Use Custom Bosses to evaluate whether a shared fight is a fair B-tier trainer or an S-tier chaos room wearing a joke name.
B-tier clears are the best fuel for the economy loop. Pair them with Gold Farming and spend decisions informed by the Skins Tier List so you are not dumping currency after one lucky win.
C tier — warm-ups and confidence builders
Toriel-, Napstablook-, and early route style encounters usually sit in C for threat. They exist to teach soul-style dodge habits, attack commitment, and menu composure. After any patch — especially UI or input changes called out on V1.30 style notes — warm up on a C-tier fight before you jump into A/S content.
C-tier is also where you should test new devices or keybind experiments. Do not calibrate sensitivity inside a Limbo Sans attempt.
D tier — soft training & onboarding
Dummy, target, or ultra-soft training dummies belong in D. Use them when you just redeemed codes, when you are explaining the game to a friend, or when you need a no-stakes sandbox for movement. If a D-tier fight suddenly feels hard, something is wrong with your client, binds, or latency — check basics in Getting Started before blaming balance.
Suggested climbing path
- Redeem active codes on the Codes Hub.
- One D/C warm-up for movement.
- Two B-tier clears for Gold and reps.
- One A-tier attempt with a written goal (survive phase two, no panic dash, etc.).
- Only then touch S-tier showcase bosses.
- Log what failed, then reopen Boss Fights for habits — not random YouTube fluff.
PvP transfer notes
Boss tiers are not PvP tiers, but transfer exists:
- A/S precision bosses teach patience and bait recognition.
- B-tier consistency teaches stamina for longer lobby sets.
- Custom chaos rooms can teach overload tracking, but bad customs teach panic — avoid letting them define your fundamentals.
When you move to players, open the PvP guide and remember cosmetics from the skins list do not replace the dodge vocabulary you earned here.
Keep rankings honest
After each update, ask three questions: Did telegraphs change? Did reward value change enough to shift farming priority? Did a new custom or AU boss outclass an old S-tier wall? Update your personal notes, then compare with this page. Return to the Tier List Hub when you also need skin spend advice, and watch Updates so you never climb a ladder that a patch just rebuilt.
Frequently Asked Questions
Quick answers about codes, bosses, PvP, and progression.
Is this Undertale Battlez boss tier list official?
No. It is community opinion focused on learning difficulty and threat during BETA. Re-check after patches.
Should beginners start in S tier?
No. Warm up in D/C, farm and learn in B, then sample A before showcase S-tier bosses like Limbo Sans style fights.
Where do custom bosses fit?
Rank the fight you actually play. Readable customs often sit in B; unfair density can push A or S even if the name is a joke.
How does this relate to the Boss Fights guide?
This page orders what to practice. Boss Fights explains how to practice — pattern reading, patience, and common mistakes.
Do boss tiers equal PvP tiers?
Not directly. High-precision bosses teach useful habits, but human opponents require the separate PvP guide.
What should I do after a Massive Update?
Re-warm on C-tier, retest one B-tier clear, then revisit A/S goals. Skim Updates and V1.30-style notes before rewriting your ladder.